Previous chapter LLUs Home Next chapter Index
NCAR Graphics software is most commonly used for drawing contours over geographic maps, then filling the resulting regions. The NCAR Graphics utilities most critical to these operations, Areas, Ezmap, and Conpack, require more documentation than the other utilities presented in this guide. We provide a separate document, NCAR Graphics Contouring and Mapping Tutorial, that contains much more detail and many more examples than we can offer here. This separate document is available in hardcopy only; ordering instructions appear at the end of the preface of this guide.
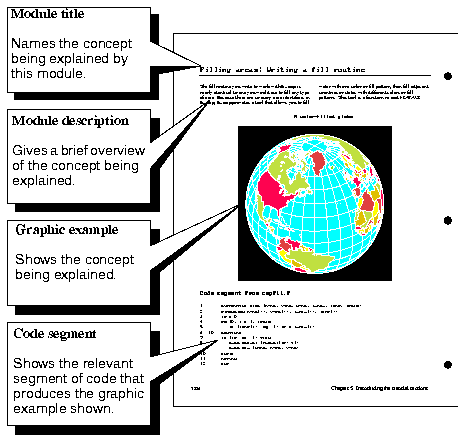
The following sections of this guide each discuss a major graphics function like "Drawing lines and curves" and "Drawing text and symbols." Each section contains modules that demonstrate how to perform a specific task in NCAR Graphics like "How to set a dash pattern." The modules are organized as shown on the next two pages: most are laid out as two-page spreads so that all relevant information is available to you at a glance.
Generally, the first modules in a section explain basic functionality, then later modules build increasingly complex examples.

All color graphics in this guide are printed in gray scale to minimize printing costs. Please run the example, then view the color graphic on your screen for a better understanding of the text.
The heading "Code segment from example.f" gives you the name of the example file. To obtain files that contain the Fortran code, compile and execute the code, and create the NCGM, type:
ncargex exampleDo not type the ".f" extension; "example.f" denotes the file that contains the Fortran code. All files generated by ncargex are placed in your current directory.
All Fortran code is printed in this manual with the Courier (typewriter) font. This monospaced type font preserves the correct relationships of Fortran columns.
Two important pieces of information follow the argument name: its Fortran type and its function in the program. When parameters are listed under the Arguments heading, only their Fortran type is given.
Fortran types include INTEGER, REAL, and CHARACTER, plus arrays of these types (the dimension of any array is always indicated). The argument's function in the program may be as input (the user supplies a value for the argument), output (the routine returns information to the user or the program in the argument), workspace (a scratch array for the routines to use in manipulating information, but that the user must declare), or subroutine (a special-purpose routine that the user typically creates or modifies to produce a desired result).
Wherever it is appropriate, specific values and ranges of values are explained in text that is indented from the text describing arguments and parameters.
Characters used as variables to represent a number (n or m for example) are printed in italics.
All references to example names, filenames, and commands are printed with bold characters.
Previous chapter LLUs Home Next chapter Index